Create zoomable image from ImageJ
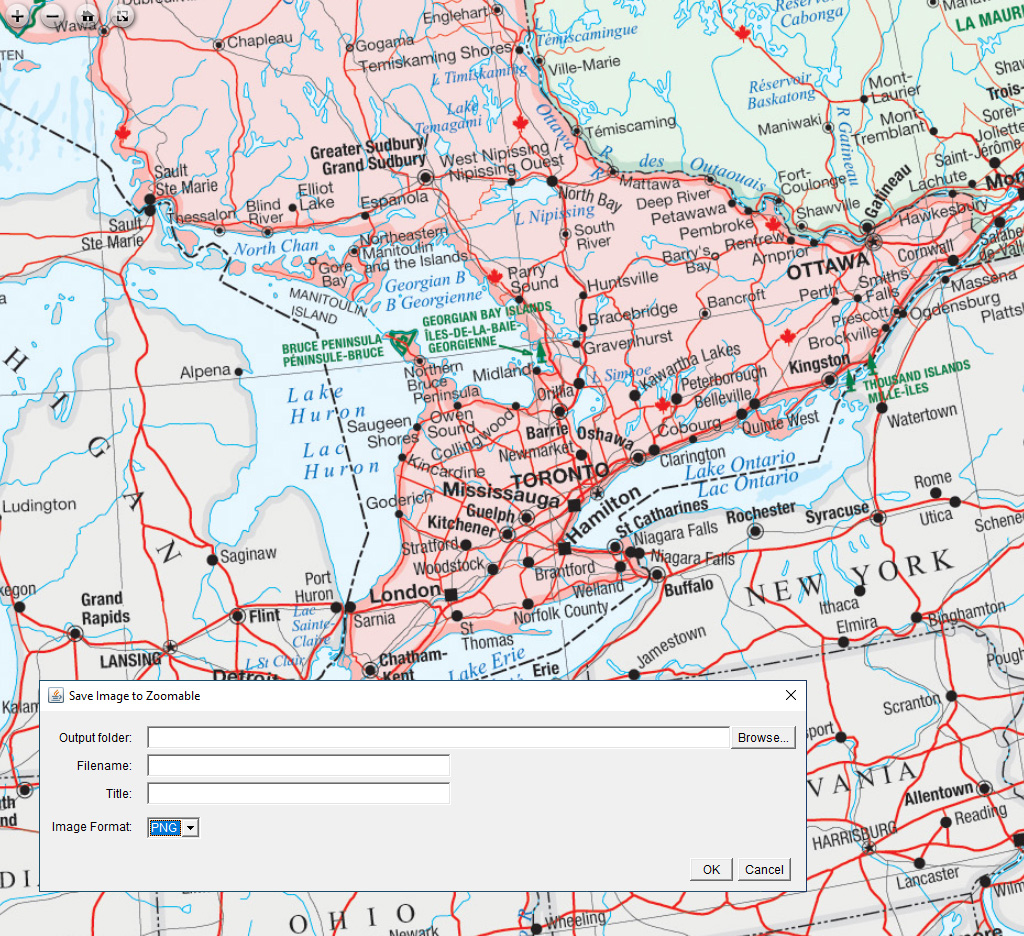
Atlas of Canada, Reference Map Series MCR 102, 2015 on GEOSCAN
Instructions (for Fiji package)
- After purchasing our plugin, download the JAR file.
- Locate the ImageJ folder, Copy the JAR file to the plugin folder. macOS users can open the ImageJ folder by right clicking on the ImageJ executable and choose "Show Package Contents".
- Open ImageJ and open an image of your choice.
- Click File > Save As > Zoomable...
- As shown at the top of this page, provide appropriate values in the fields.
- Click OK to begin the export.
- If you see the progress bar, the export has started. Wait for a moment.
- The result is shown in the browser.
Ready to bring your zoomable images online?
Learn more in how to bring your zoomable images online.
Do you have a lot of images to process?
Consider using Zoomable Batch.
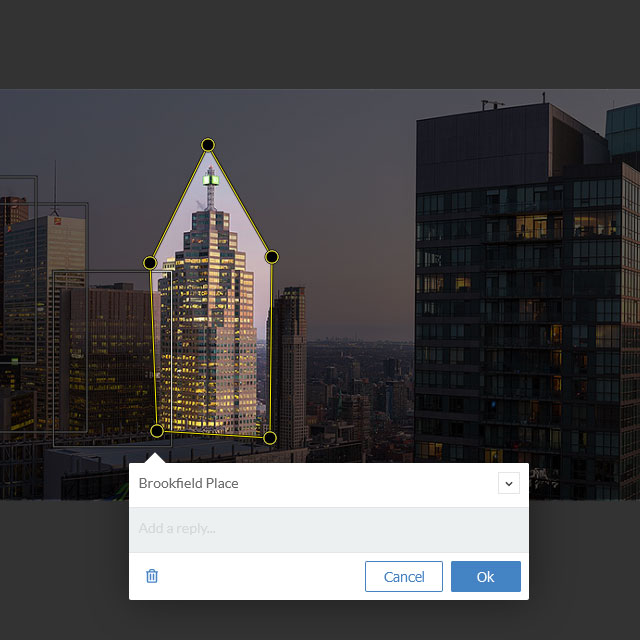
Do you need to annotate your image?
Check out our Annotations Editor.
Frequently Asked Questions
- Which version of ImageJ should I use?
We strongly recommend Fiji (Fiji Is Just ImageJ). It's a portable application (both in Windows and macOS) which you can get started right away without installation. - I've never used ImageJ before, is this right for me?
Since ImageJ is a free software, you can try it out before purchasing our plugin. - Can I customize the viewer?
Yes, as our template is using OpenSeadragon which is a web-based open source viewer. If you are a developer, please refer to the documentation on their website for details. - Does it work with tranparent images?
No, it doesn't. The standalone ImageJ application doesn't handle transparent images very well. It might work with third party plugin installed but we haven't found a suitable one yet. If you have a transparent image, it will be saved with a solid background. However, we have another product has transparency support. See Zoomable Batch for details.